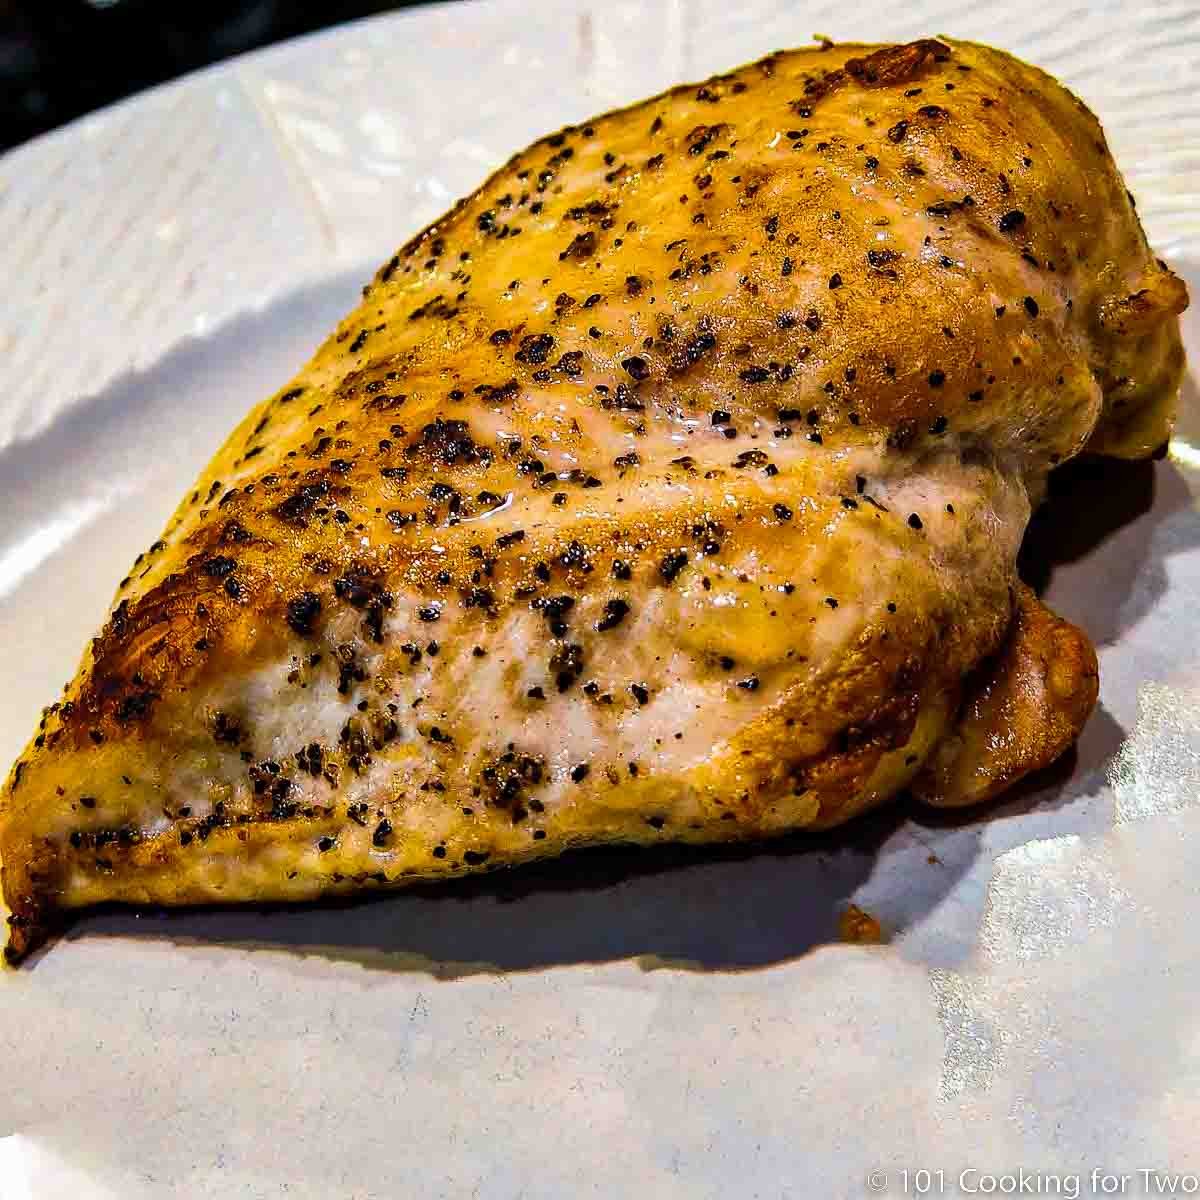
An easy 30-minute recipe starting with searing the chicken breasts on the stovetop, then oven-baked to a final temperature of 165° for a great tasting, moist, and tender weeknight dinner.
Introduction
This is how we cooked for many years. We had a freezer in the garage fridge for meat only. I would take out a couple of chicken breasts, a pork tenderloin, and some steaks, let them thaw in the refrigerator for a few days and work our way through them.
I would get home late from work. But we want a nice dinner on a short timeline. I spend 5-10 minutes of preparation time and usually finish in the oven as I'm unwinding, and in 15-20 minutes, dinner was ready.
Faster than ordering pizza and so much better, healthier, and cheaper if you're cheap.
👨🍳How to make this recipe
- Preheat the oven to 375° convection or 400° conventional.
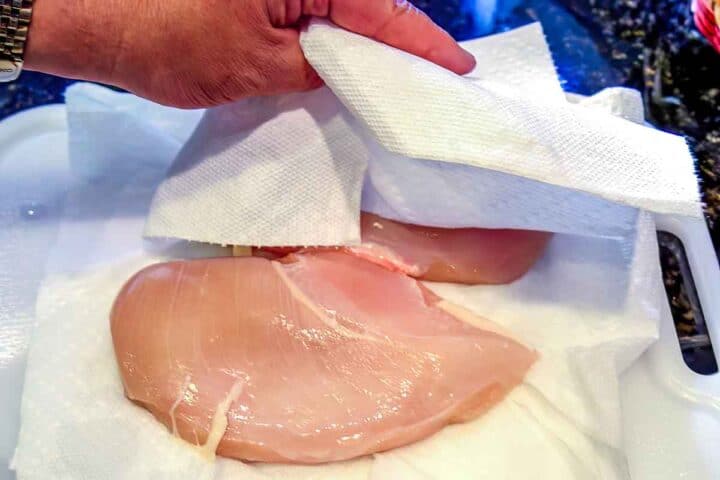
- Trim and pat dry the chicken. If the chicken breast is over ¾ inches thick, flatten it with a meat mallet or the bottom of a heavy pan.
- Heat oil in an oven-safe pan (cast iron preferred) over medium-high heat.
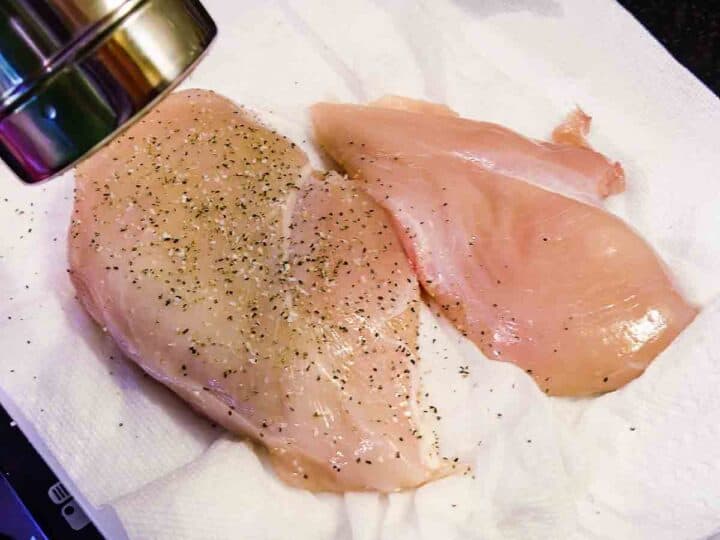
- Sprinkle lightly with salt and pepper or the seasoning of your choice.
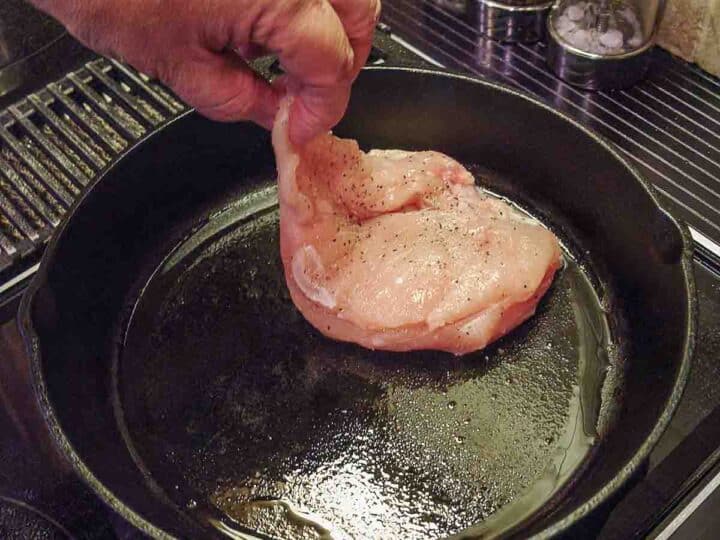
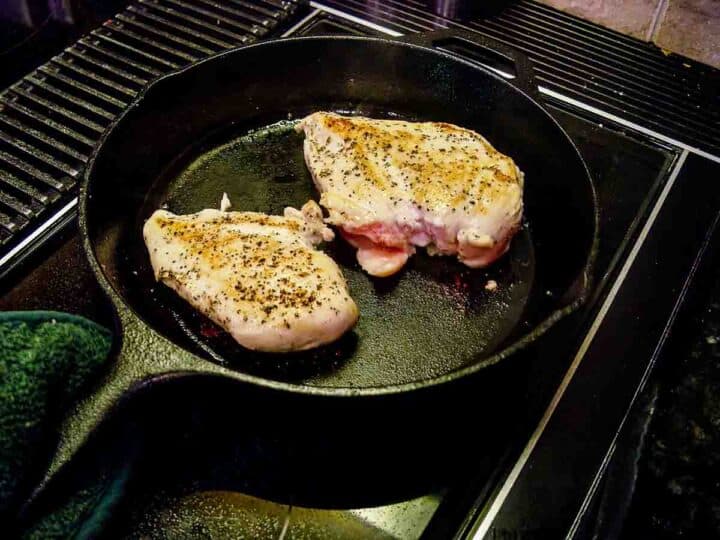
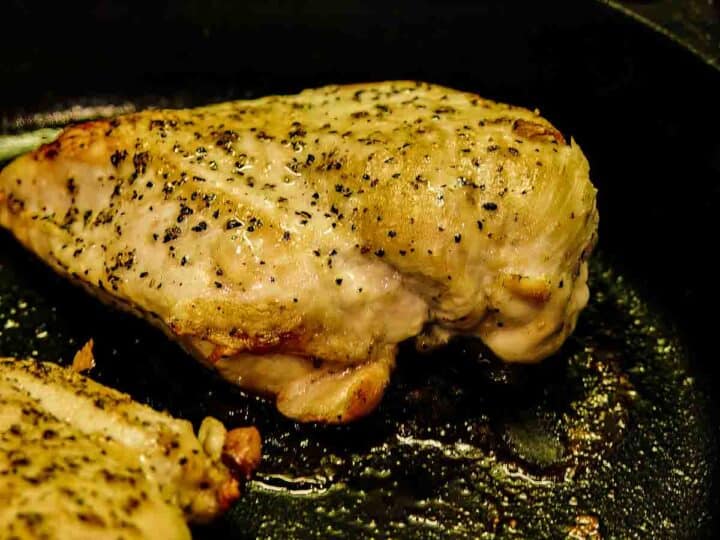
- When the oil is hot and shimmering, carefully lay the chicken breasts in the hot pan. Brown both sides for 3-4 minutes each—to almost the color you want when eating.
- Bake for 15-20 minutes until an internal temperature of 165°. The thinner breast will be for 15 minutes, and the bigger ones for about 20 minutes.
- Let rest for 5 minutes before serving.
⏰Oven baking time
In an oven temperature of 375° convection or 400° conventional, the most common size breasts (10-12 oz.) will take about 15 minutes after a nice medium searing. A larger breast will be about 5 minutes more. A small breast may take as little as 10 minutes in the oven.
Variability is related to the thickness of the chicken breasts and a bit by the amount of searing. Always cook to a final internal temperature of 165° and never by time alone. Times are provided to help you plan only.
You can use a different oven temperature if you are cooking something else since you are cooking to a final internal temperature. It will take a bit longer or shorter, depending on your adjustments.
Also, let the chicken rest for 5 minutes before cutting to reabsorb the fluid in the meat from the cooking process.
🐓Ingredients
The Chicken
This is a skinless boneless chicken breast recipe. It is not for skin-on or bone-in breasts. You can use skinless chicken thighs, but I suggest a finish temperature of 180°+, although 165° is safe.
If you are doing more than one breast, try to use breasts of about the same sizes and thickness. If the breasts you use vary in thickness, you should flatten the thicker ones to ¾ inches with a meat mallet or heavy pan.
This cooking method should not be used for chicken that is still frozen. The outside will be overcooked and chewy before you get the thickest part of the breast to the safe temperature of 165°.
🧂The Seasoning
Just a coarse salt and pepper will do, but we like our homemade All Purpose Seasoning - 7:2:1 and 7:2:2 and keep it on the stovetop. It adds garlic, which is required in our household.
Season to your taste, but I don't suggest anything with sugars since they might burn with the searing.
❓FAQs
Searing will create a Maillard reaction caused by heating proteins and carbohydrates. It leads to browning and new flavors. It is different from caramelization since caramelization involves only carbohydrates.
One of the secrets of this recipe is the searing. You get a nice Maillard reaction (the searing/browning) to add lots of flavors you get no other way.
Get them close to the final color you like during the searing before you move on to the oven-roasting step. Just baking them in the oven will not get you there/
Cast iron can quickly go from the stovetop to the oven safely. It excels at even heat distribution without hot spots, it is cheap and relatively non-stick—a near-perfect pan for this sort of recipe.
I use a 10-inch cast iron skillet for two breasts for this recipe. A 12-inch skillet will work for up to 4 chicken breasts.
If you don't have cast iron or another pan that is safe to go from the stovetop to the oven, you can use a different pan for the stovetop, then transfer the chicken to a preheated oven-safe pan to finish cooking.
👨🍳Food Safety Tips
For safety, use an instant-read thermometer in the thickest part of the chicken to be sure the internal temperature reaches the safe temperature of 165° and never cook by time.
Chicken should not be rinsed for food safety. It will splatter germs over your kitchen. For more details, please see Chicken- To Rinse or Not To Rinse? .
📖Chicken Breast Recipes
How to Bake Chicken Breasts in a Convection Oven
How to Grill Chicken Breasts on a Gas Grill

This recipe is listed in these categories. See them for more similar recipes.
Have you tried this recipe, or have a question? Join the community discussion in the comments.
Step-by-Step Photo Instructions
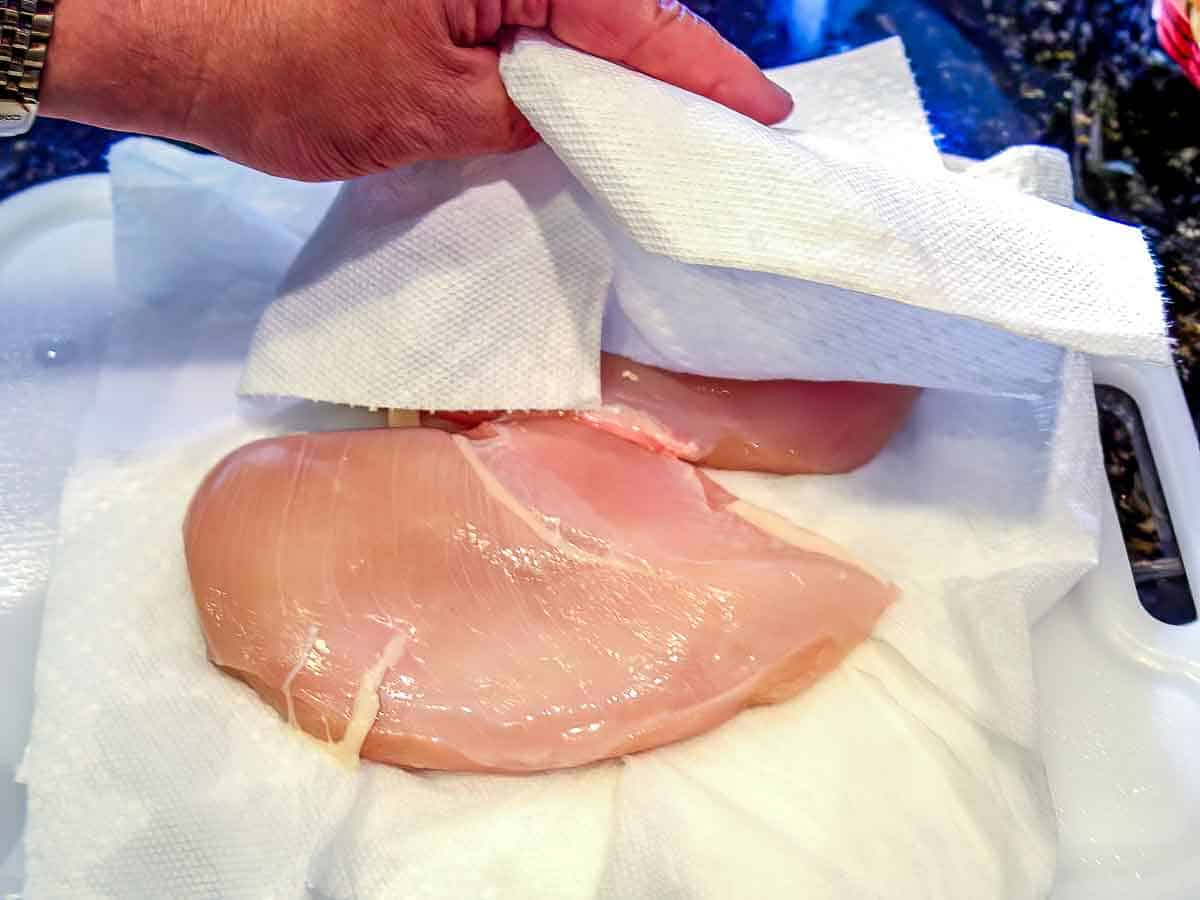
Preheat the oven to 375° convection or 400° conventional. Trim and pat dry the chicken with paper towels. If the chicken breast is over ¾ inches thick, flatten it with a meat mallet or the bottom of a heavy pan.
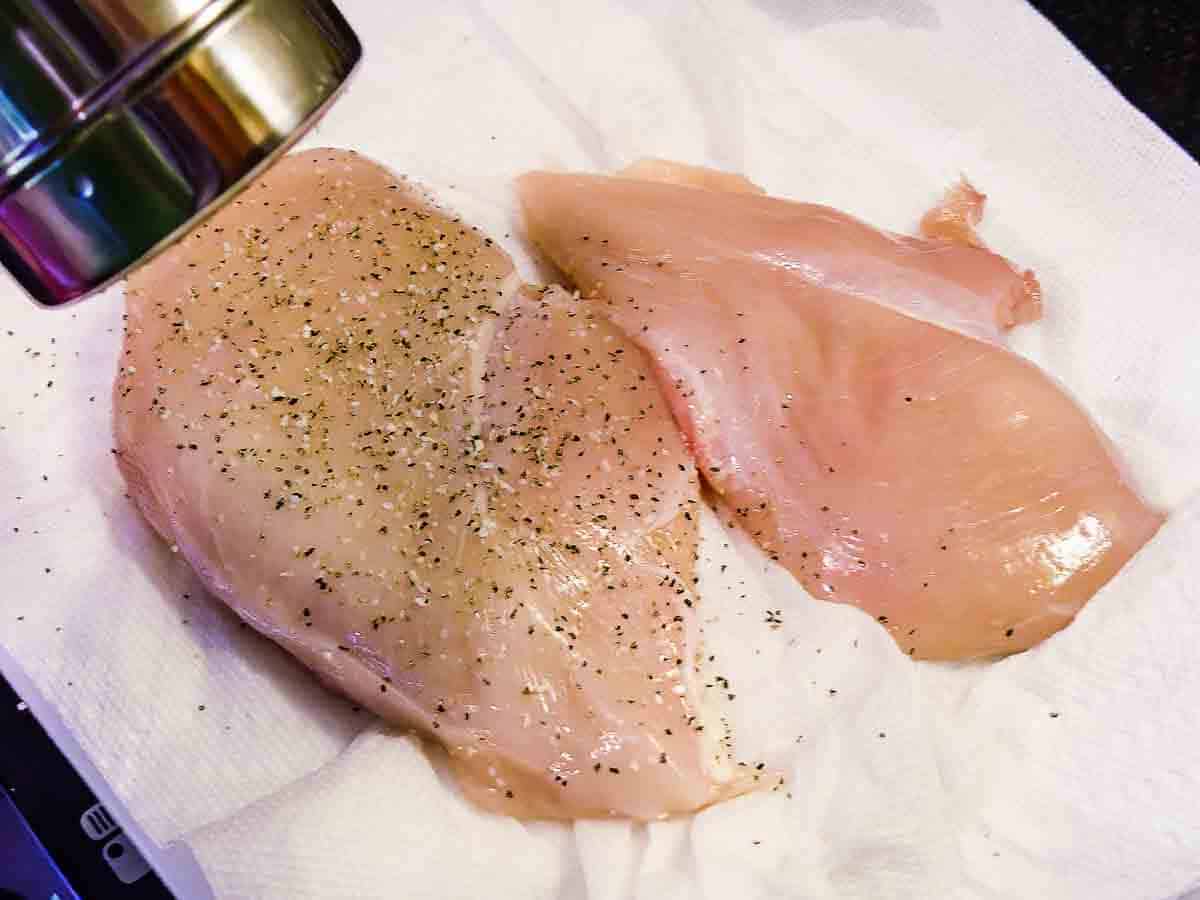
Sprinkle lightly with salt and pepper or the seasoning of your choice.
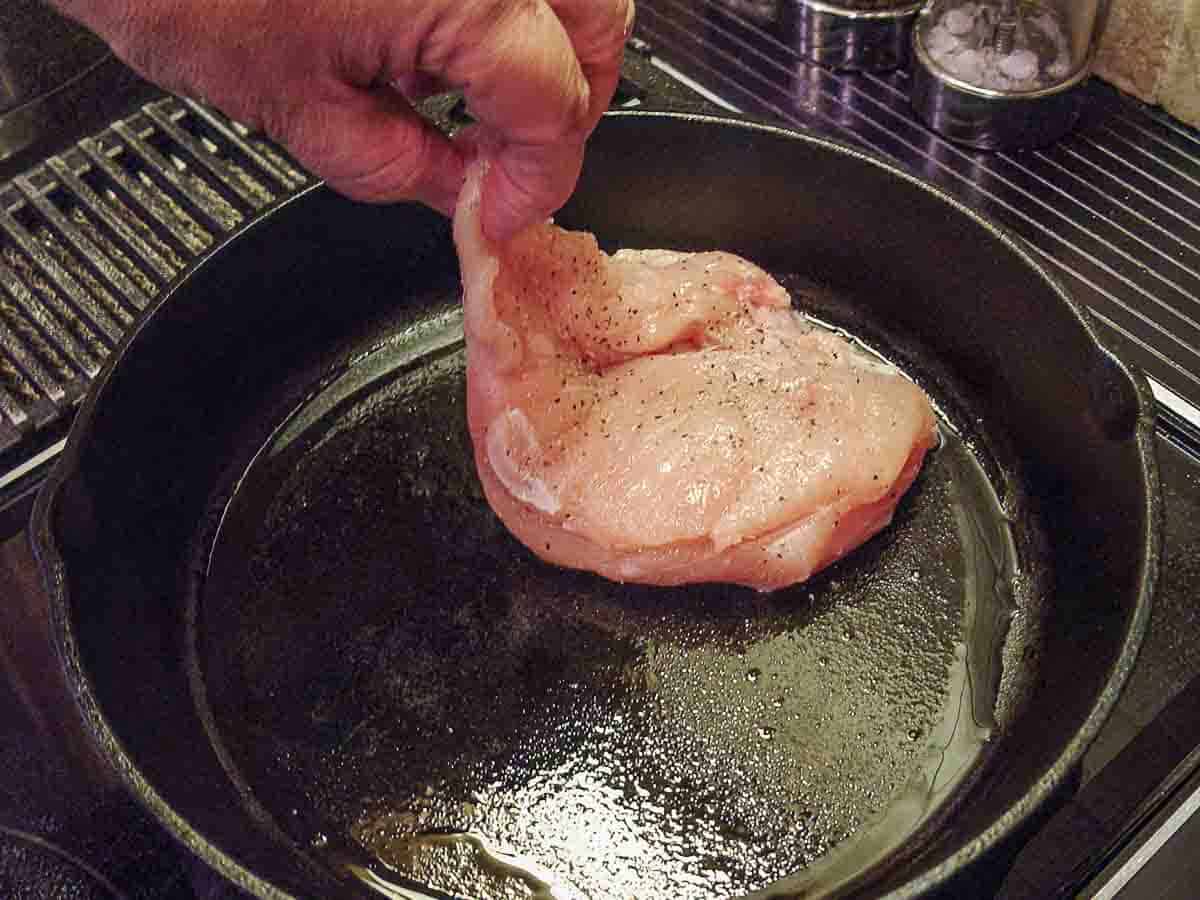
Put an oven-safe pan (cast iron preferred) over medium-high heat with a teaspoon of oil or some butter. When the oil is hot and shimmering, carefully lay the chicken breast in the hot pan. Brown both sides for 3-4 minutes each.
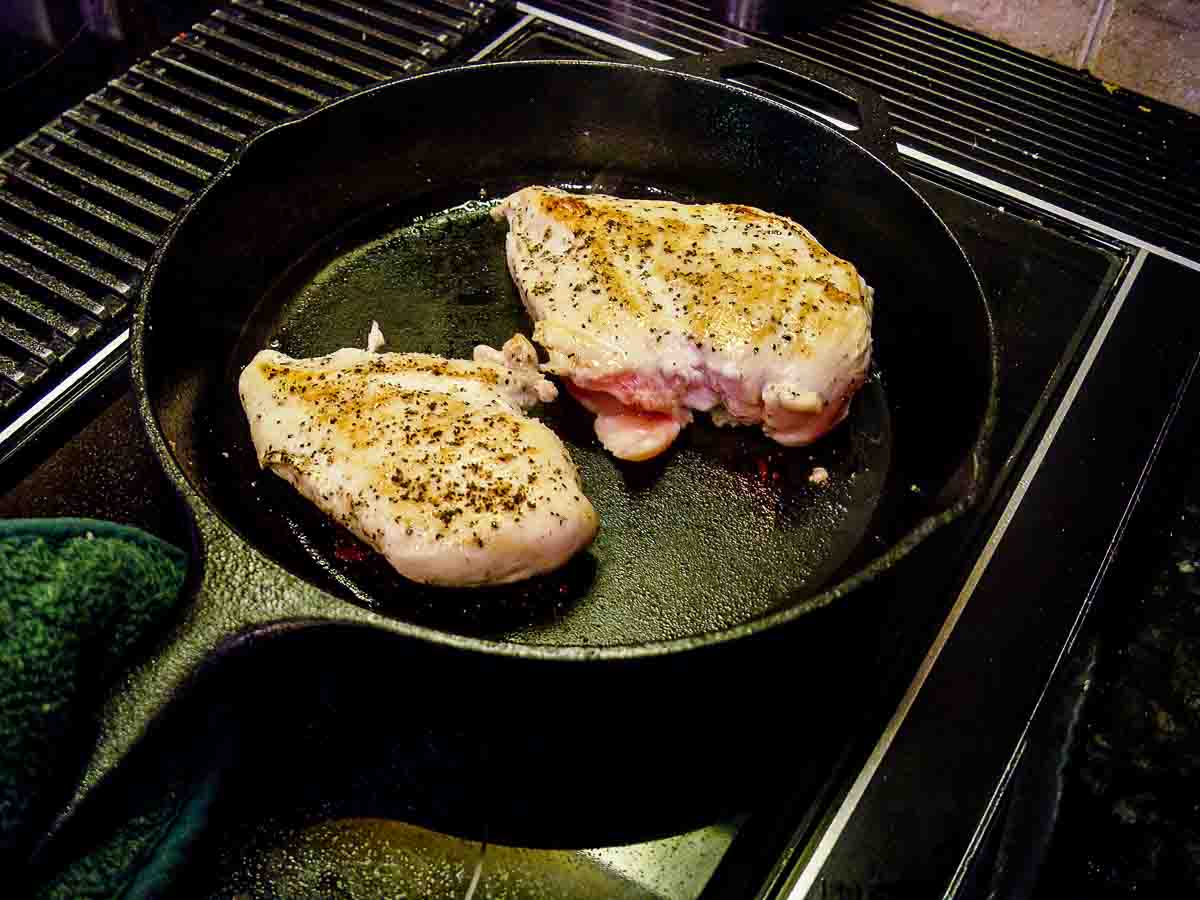
Get them to be almost the color you want when eating. So, sear, flip, sear, and a final flip into the oven.
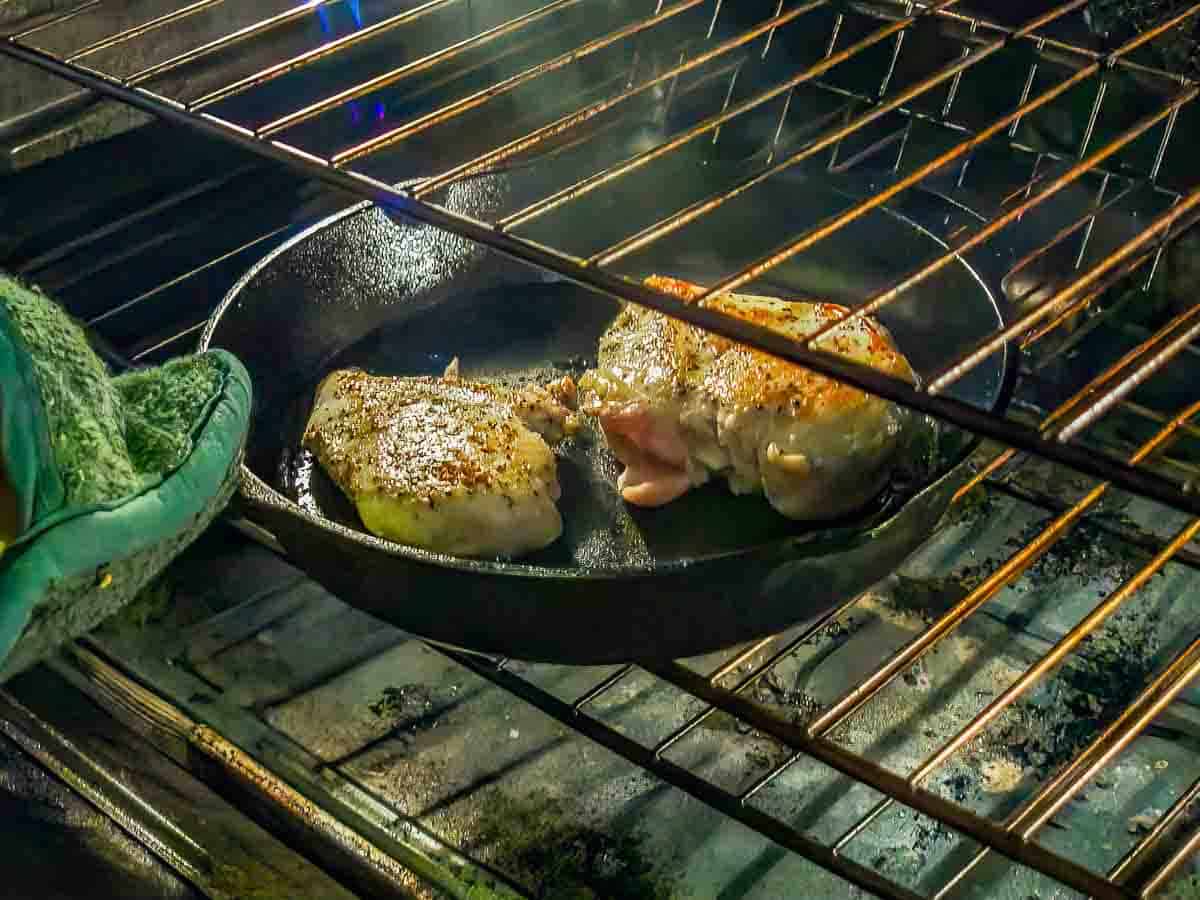
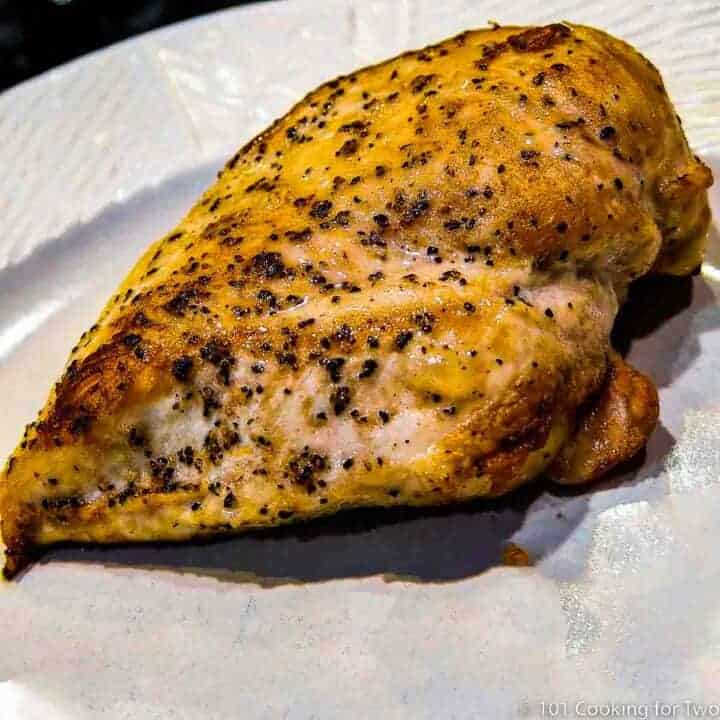
Bake for 15-20 minutes until an internal temperature of 165°. The thinner breast will be for 15 minutes, and the bigger breasts for about 20 minutes.
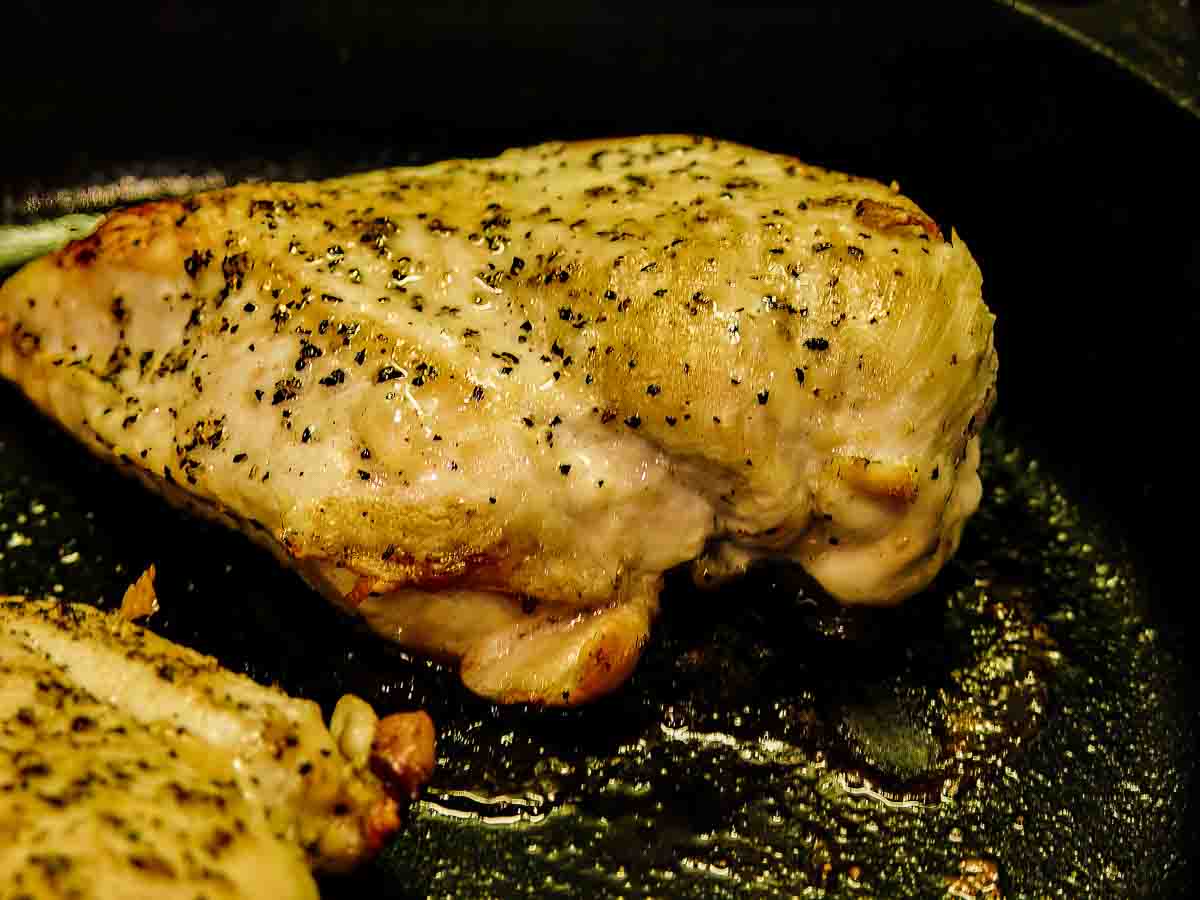
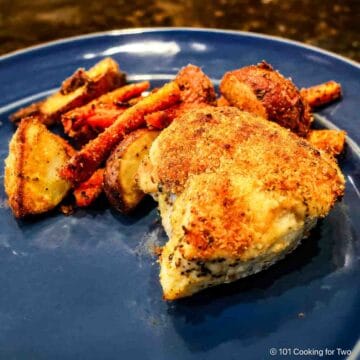
Let rest for 5 minutes before serving. Done in less than 30 minutes, and you spent most of the time setting and unwinding. Not bad, not bad at all.
📖 Recipe
Pan Seared Oven Baked Chicken Breasts
Video Slideshow
Save this recipe to your inbox for later!
You may recieve the email without subscribing if you wish, but the subscription is convienent and has an easy one-ckick unsubscribe.
Ingredients
- 2 skinless boneless chicken breasts - about 10 oz each well timed
- 1 teaspoon oil
- Salt and pepper to taste OR 7:2:1
Instructions
- Preheat the oven to 375° convection or 400° conventional. Trim and pat dry the chicken with paper towels. If the chicken breast is over ¾ inches thick, flatten it with a meat mallet or the bottom of a heavy pan.
- Sprinkle lightly with salt and pepper or the seasoning of your choice.
- Put an oven-safe pan (cast iron preferred) over medium-high heat with a teaspoon of oil or some butter. When the oil is hot and shimmering, carefully lay the chicken breast in the hot pan. Brown both sides for 3-4 minutes each.
- Get them to be almost the color you want when eating. So, sear, flip, sear, and a final flip into the oven.
- Bake for 15-20 minutes until an internal temperature of 165°. The thinner breast will be for 15 minutes, and the bigger breasts for about 20 minutes.
- Let rest for 5 minutes before serving. Done in less than 30 minutes.
Recipe Notes
Pro Tips:
- Do not try with still frozen chicken.
- Try to use breasts of about the same size and thicken. If over ¾ inch thick, flatten them with a meat mallet or the bottom of a heavy pan.
- Season as you want, but I suggest nothing with sugar that may burn. We use All Purpose Seasoning - 7:2:1 and 7:2:2.
- Start searing with a preheated pan, not cold. The oil should be shimmering. You may need more oil if you don't use well-seasoned cast iron or non-stick skillet. Butter will work but if you have smoking, turn the heat down a bit.
- Sear in the pan to approximately the final color you want.
- First, sear with the smooth side up, then flip, sear, then one final flip as it goes into the oven.
- The oven time can vary by size and thickness. Usually, 15-20 minutes, but you must check for the final internal temperature of 165°. Thinner breasts may take as little as 10 minutes.
- Rest for 5 minutes after cooking before cutting.
Your Own Private Notes
To adjust the recipe size:
You may adjust the number of servings in this recipe card under servings. This does the math for the ingredients for you. BUT it does NOT adjust the text of the instructions. So you need to do that yourself.
Nutrition Estimate
© 101 Cooking for Two, LLC. All content and photographs are copyright protected by us or our vendors. While we appreciate your sharing our recipes, please realize copying, pasting, or duplicating full recipes to any social media, website, or electronic/printed media is strictly prohibited and a violation of our copyrights.
Editor's Note: Originally Published August 28, 2011. Updated with expanded options, refreshed photos, and a table of contents to help navigation.



Kristin says
Seriously this recipe is great! Even my daughter who is SO picky ate this chicken. Thank you!! I've now made this 4 times so figured I'd better thank you 😊
DrDan says
Thanks Kristin, this is one of my favorites.
Dan
Vnix says
Perfect for a busy single. I only added my favorite smoked paprika to the 7:2:1.
Pam says
Dr. Dan, I would SERIOUSLY give this recipe 10 🌟 of I could! In all of my 50 years of eating, I have never before had such a tender, juicy and flavorful chicken breast! It was fork-tender - no knife required! I used Tony Chachere's Creole seasoning instead of the 7:2:1 mix, and the flavor was absolutely amazing! My husband and I plan to use the 7:2:1 mix for chicken Alfredo and chicken Caesar salads. We have decided that this is the ONLY way to make chicken breasts from now on. Our compliments to the Chef! 😋
DrDan says
Aww shucks.
Thanks for the note and "10"
Dan
Kristin says
This was so good! Even my super picky daughter ate it. Thanks for a new way to make chicken breasts!
Amy says
This was really tasty! My daughter asked me to make it again. So easy....left overs are great on a sandwich or salad too. Didn't use the seasoning blend....just used kosher salt and fresh ground pepper with a Penzey's spice blend for chicken and ribs.
Sophia says
This worked out perfectly for me. I had two chicken thighs and baked it for 12 minutes and then let it rest. Came out super tender and juicy!
Rose says
Finally! I can make decent chicken. It took some trial and error to adapt this recipe since I prefer chicken tenderloins. I also sprinkle on paprika in addition to salt and garlic powder (I'm not a fan of pepper). I pan sear 2 fresh chicken tenderloins for a minute on each side, then throw them in the oven for about 6 minutes (double-checking that they've reached the correct internal temp) and YUM! Thanks!!!
Nancy says
I used the thicker bigger sl bl chicken breasts 10 oz each. I took them out of refrigerator ~1 hour before cooking. I browned both sides on medium high electric cooktop for 3. minutes each in a cast iron skillet. I placed the skillet in.a 400 conventional oven for 12 minutes. I had inserted a digital remote cooking thermometer with a probe into the thickest part of one of the half breasts (right in the middle). The temperature reached 165 after 12 minutes. I let it rest 3 minutes loosely covered and the temperature rose to 170,
They were juicy and delicious.
Stovetop: medium high 3 minutes/side
Oven: 400 conventional. 12 minutes
Total cooking time 18 minutes
Christine says
This is truly a great recipe for chicken breasts and now my favorite of all of my recipes for chicken breasts. So very moist and flavorful!
Sara says
This was super yummy! Some of the best chicken I have ever made--it tasted like it was from a restaurant. The only change I made was adding a little onion powder. Husband loved it too. Thanks so much!
DrDan says
Thanks for the note and have a great holiday
Dan
Genevieve says
Just tried this tonight to serve with leftover Christmas side dishes, and I have to say your instructions were spot on. I forgot to check the smaller breast after 15 minutes so it was a little over cooked, but the larger one was done to perfection at 20 minutes. Both were so flavorful, yet their simplicity provided the perfect balance to the richer (translation: less healthy but quite tasty) holiday leftovers. This recipe is definitely a keeper, and the 7-2-1 mix will have a permanent...and prominent...place amongst my collection of oft-used spices.
And nothing says "yum" like flourless chocolate cake, so no doubt that will be on my agenda while I have time off this week.
DrDan says
Thanks Genevieve,
I do love simple recipes and this one I have done hundreds of time. It was at least 3 times per month for many years.
The 7-2-2 is the most common seasoning used at our house.
And finally, you will love that cake.
Happy Holidays
Dan
Jonathan says
165 degrees for the chicken is not good enough. It needs to be 180 degrees to kill any bacteria in the chicken.
DrDan says
Nope, 165 for chicken. Please see https://www.foodsafety.gov/keep/charts/mintemp.html
I use 180 plus for texture when cooking thighs or drumsticks but 165 is still the safe internal temperature there also.
Working mom says
I appreciated this recipe for the technique of searing then finishing in the oven. I never had much luck with oven baked chicken breasts before (always dry / overcooked). I used marinated breasts from Wegmans (lemon-garlic). After I seared them, I added a diced zucchini to the pan, sprinkled just the zucchini with a little olive oil, salt and pepper and threw the whole thing in the oven as you suggested. The result was delicious roasted zucchini and chicken in a one-pan meal. Added a baked sweet potato for a very easy and tasty dinner. Thanks again!
DrDan says
Great. I still do this recipe frequently but occasionally add some extras.
Dan
Katee says
I LOVEEEEEEE this simple recipe!!! It has become a staple in my house! So easy to make! My family loves how perfectly tender the chicken comes out and the seasoning makes it so yummy. I usually add some Italian spices, a sprig of fresh Rosemary and a spring of fresh thyme to it. Thank you for posting
Sparks says
A shot of butter and a pat or two of butter in the hot pan while the chicken is resting on a tented plate will make a fast and tasty reduction to sauce the chicken or a little pasta or vegetable on the side.
DrDan says
I do love butter and great idea to get all the flavor. I would make me eat my veggies.
Thanks for the note
Dan
Traci Wells says
Can I put the seasoning mixture in a grinder to make is more convenient to use on other things also?