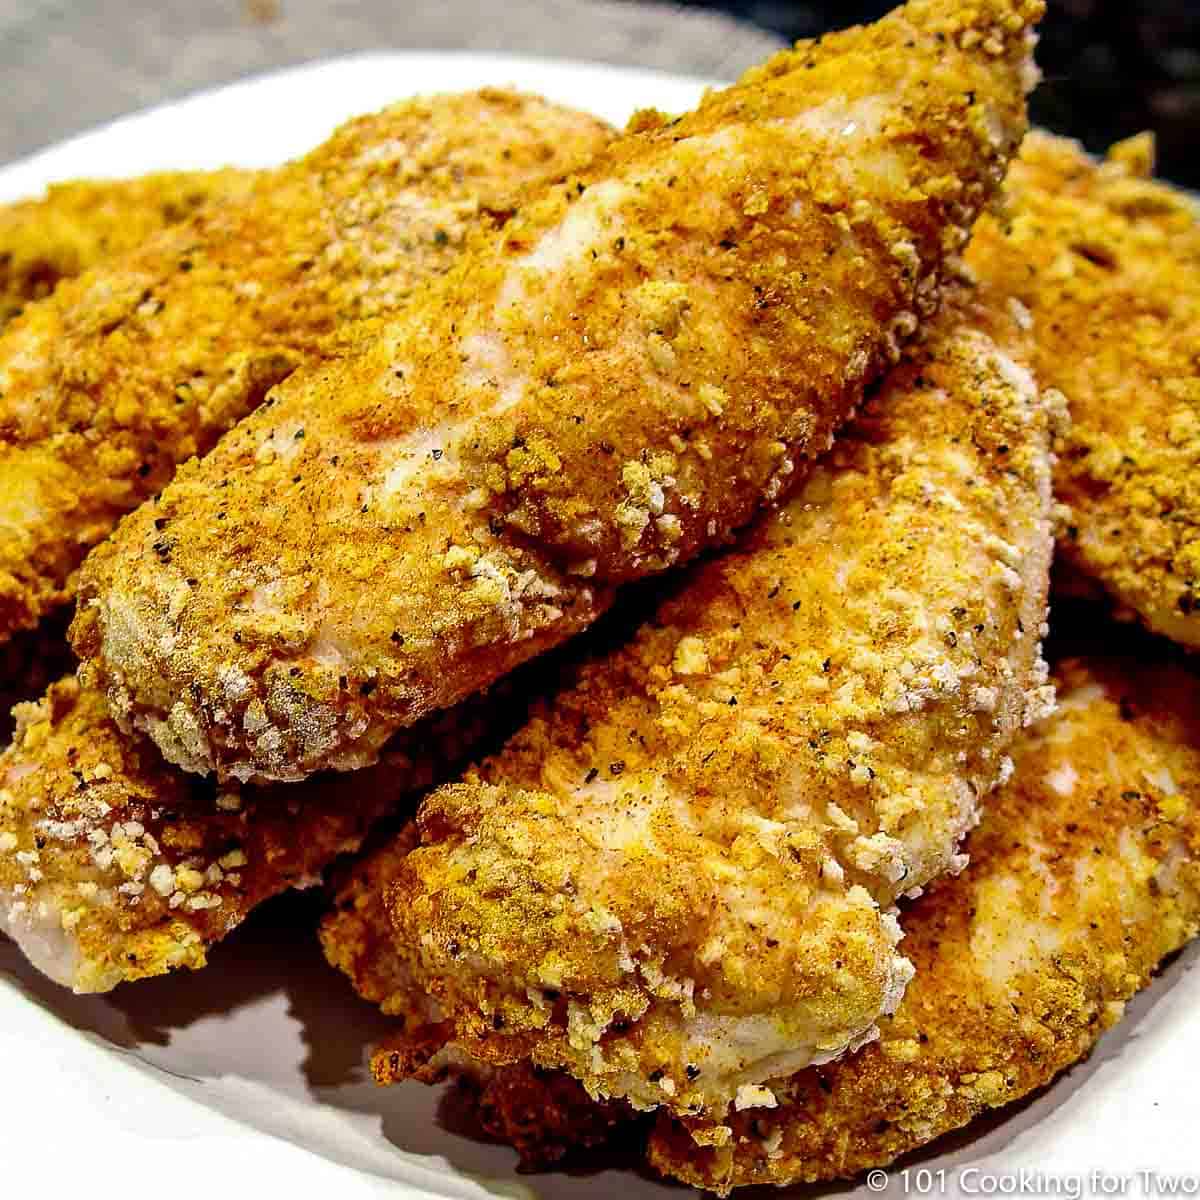
Easy baked chicken tenders are a healthy 30-minute dinner the whole family, especially the kids, will love. With a golden brown seasoned Panko bread crumb coating, no frying is required for delicious chicken fingers.
Introduction
Chicken tenders are now a standard meal for many kids and adults. But fast food is fried, and the meat is of dubious origin — time to take control of your diet with this healthy substitute.
This baked chicken tender recipe uses just standard pantry ingredients. Trim your tenders, mix some Panko bread crumbs with a few simple spices and bake until golden brown. It is that easy and only takes about 30 minutes.
👨🍳How to make this recipe
- Preheat the oven and prepare a baking tray with a rack.
- Remove the tendon and pat dry the chicken tenders.
- Coat the dry tenders first with flour, then an egg wash, then the coating mixture of breadcrumbs and spices.
- Give them a light spray of pam
- Allow the coating to "set up" for at least 5 minutes before baking.
- Cook to 165° internal temperature—about 15 to 18 minutes.
🐓Ingredients
Chicken Tenders
Chicken tenders refer to the tenderloin of the chicken located on the underside of the breast. It is that narrow part that will sometimes separate when eating breast meat. It is the chicken equivalent of the beef tenderloin or the pork tenderloin. It is a muscle that does very little work, so it is always tender.
While they may refer to tenders, the terms chicken strips and chicken fingers could refer to any strip of chicken—usually cut from breast meat.
There are usually 4-5 chicken tenders per pound.
Substitute strips of chicken breasts
You can easily cut strips of chicken breast of about the same size and ½ inch thick. Cut them as much as possible across the strain of the meat, or they may be stringy and not very tender.
Strips cut from a chicken breast will be less tender than tenderloins and cheaper.
In this or any other recipe on this site that says chicken tenders, strips of chicken can be easily substituted. And when I say tenders, you can always use strips.
Other Ingredients
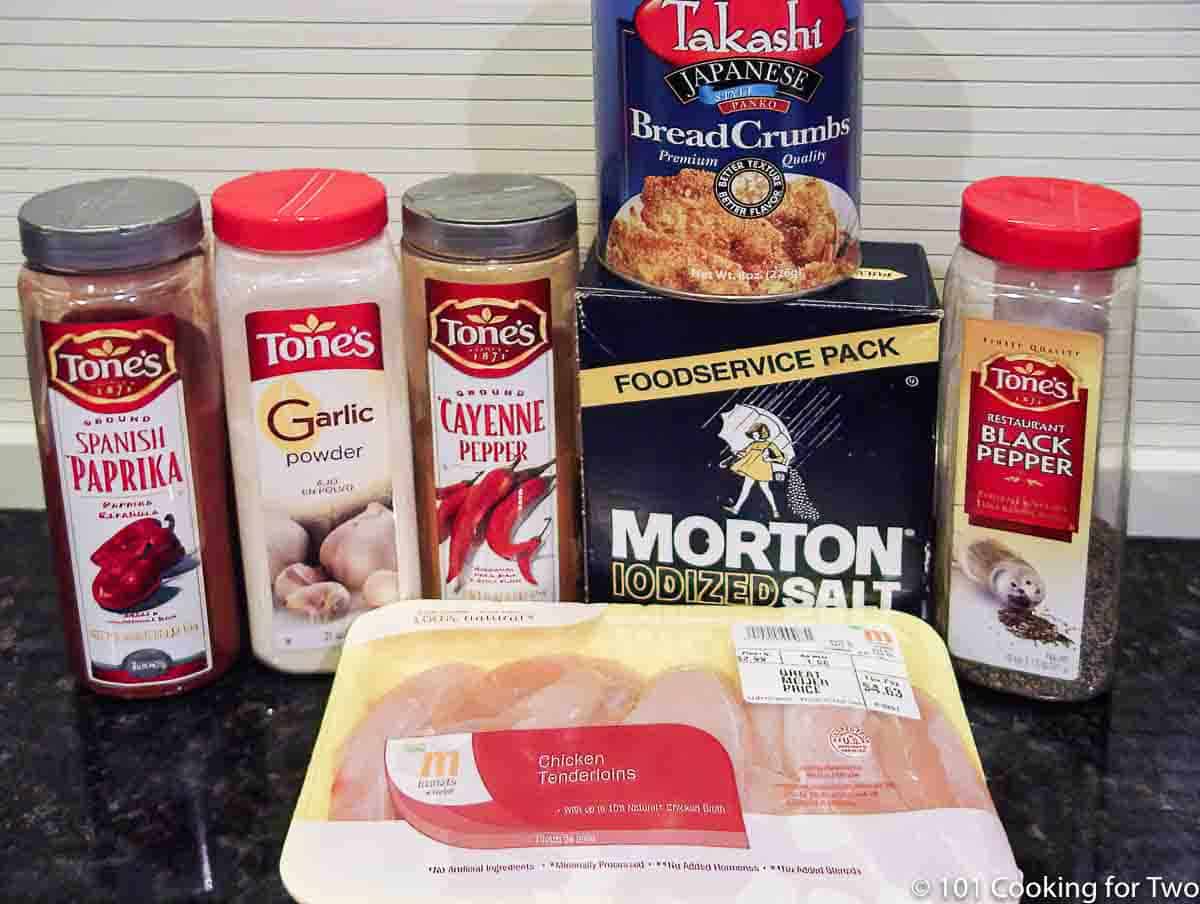
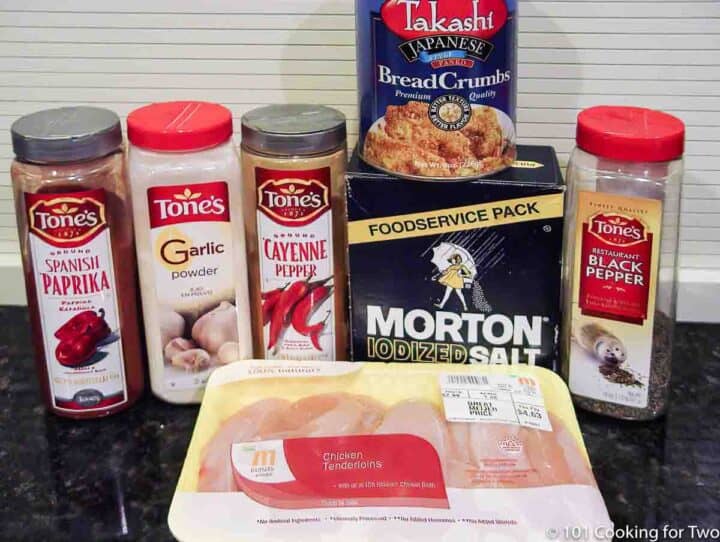
- Bread Crumbs - Panko style is suggested but regular breadcrumbs will work. Just plain flavor is fine but flavored versions will also work.
- Parmesan Cheese - optional but suggested
- Spices - paprika and garlic powder with salt and pepper are enough. A touch of heat with cayenne pepper is fine if no kids are involved.
- Flour and egg
❓FAQs
1) Dry well before starting. Use a paper towel.
2) Shake off the excess after flour and egg base coats.
3) After fully coated, let rest for about 5 minutes before proceeding to help the coating stick better.
4) After coated, handle with a fork, not your fingers or tongs.
Baked breaded meats, like chicken or pork chops, can easily have a dry texture caused by the oven heat drying out the breading.
To help decrease this problem, give the top of your tenders a quick spray of PAM cooking spray.
Yes, if you want a nice bottom coating of the tenders. Otherwise, instead of crispy, the bottom may be soggy.
If you skip the wire rack, use foil with a heavy spray of PAM. Flip the tenders halfway through cooking with a fork.
It will take about 15 to 18 minutes in a 400° convection or 425° conventional oven. A convection oven is preferred to get air circulation under the rack.
You can cook at 350° or 375°, but they will tend to dry more. The time will b a few minutes longer usually but cook to 165° internal temperature.
If the tenders are variable sizes, place the bigger ones towards the outside of the rack. Also, point the thick part of the tender to the outside.
The endpoint of cooking is an internal temperature of 165°. You may need to remove the smaller ones before the bigger ones.
They are much lower in fat and calories than the fried version, so they are healthy in that sense.
You can use two egg whites instead of one whole egg to lower the fat even more.
🍽️Serving and Leftovers
Serving
Dipping sauces are part of the fun of chicken tenders. Some popular ones are honey mustard, ketchup, BBQ sauce, Ranch dressing, flavored mayo, and sweet chili sauce.
Leftovers
The texture of the coating will never be as good as fresh-cooked, but leftover tenders should be stored in an airtight container refrigerated for 3 to 4 days. They can be frozen for 2 to 3 months.
📖Kid-Friendly Chicken Recipes

This recipe is listed in these categories. See them for more similar recipes.
Have you tried this recipe, or have a question? Join the community discussion in the comments.
Step-by-Step Photo Instructions
Preheat the oven to 400° convection or 425° conventional.
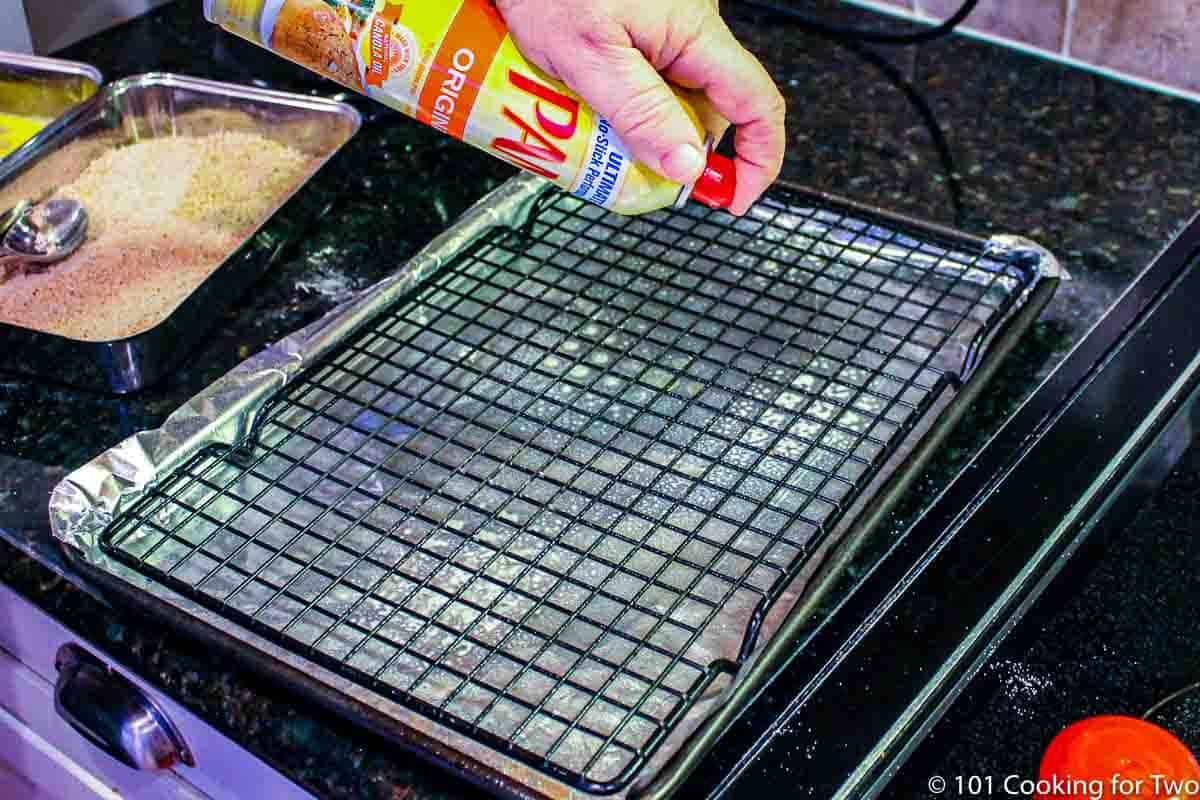
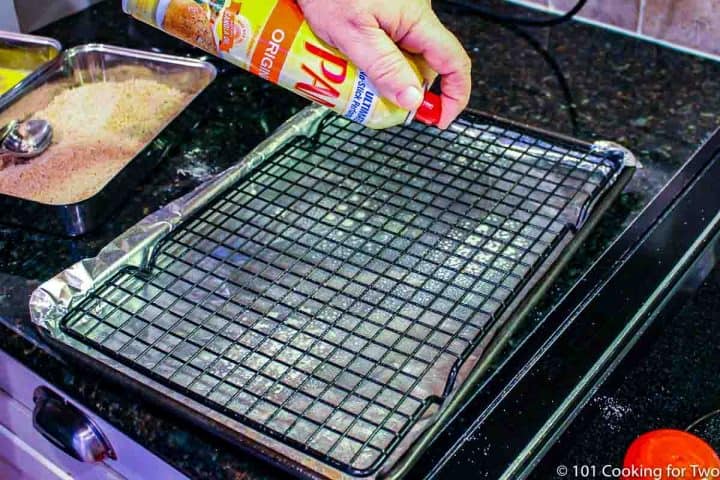
Prep a baking tray by lining it with aluminum foil, fit it with a rack and spray it with PAM.
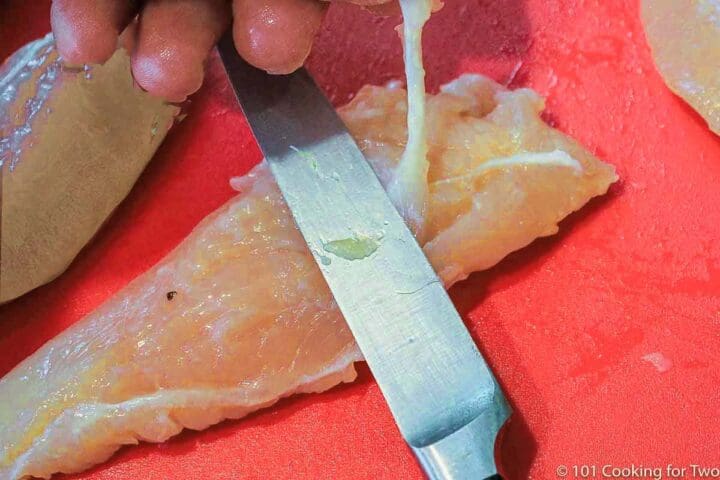
Trim 1 ½ to 2 pounds of chicken tenders. Or trim and slice 2 skinless boneless chicken breasts into ½ inch thick strips.
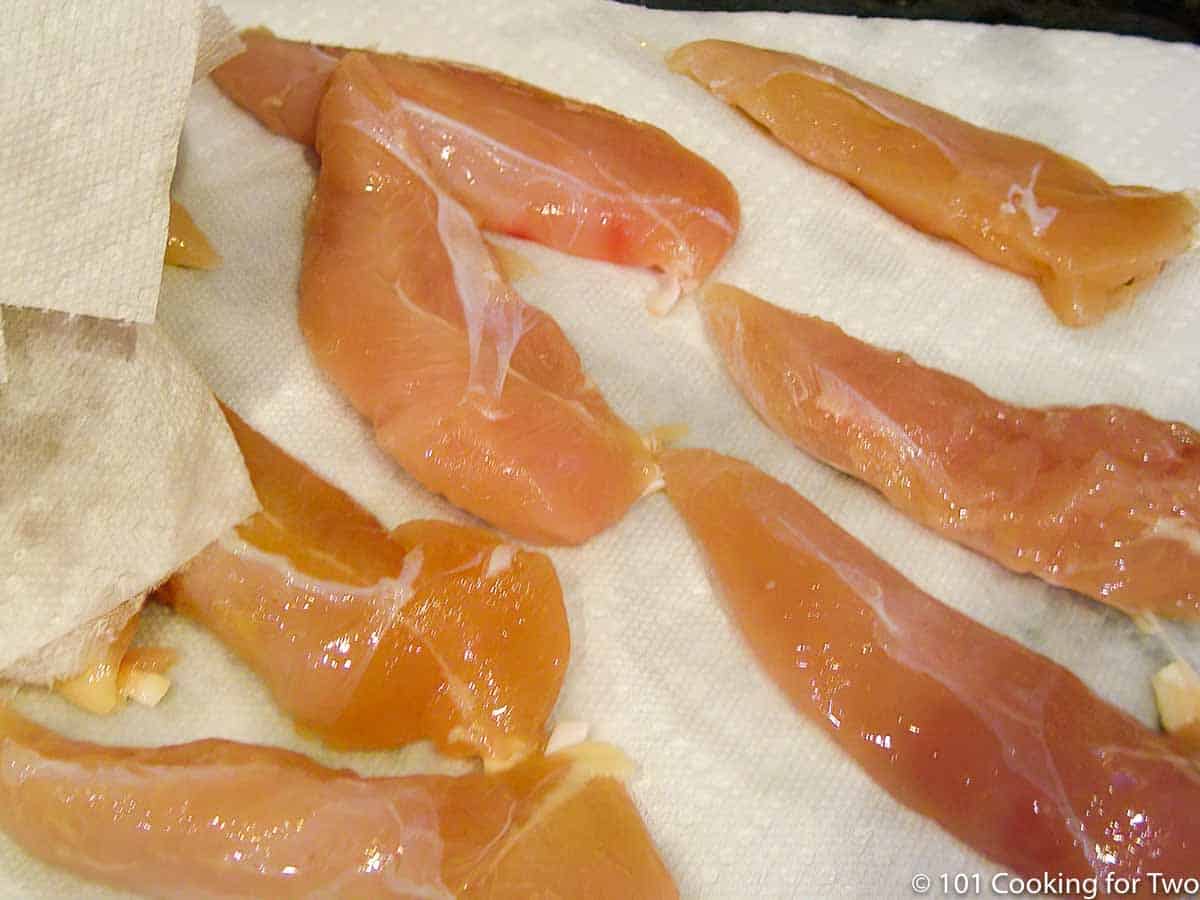
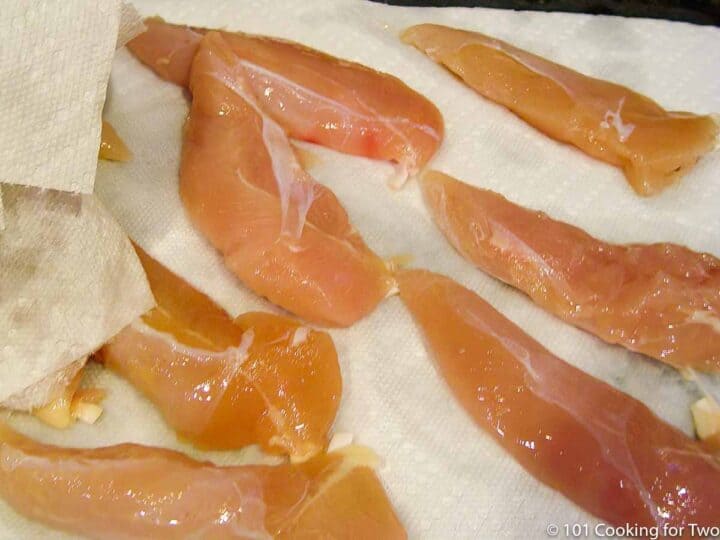
Pat dry the chicken tenders. DO NOT SKIP THIS STEP.
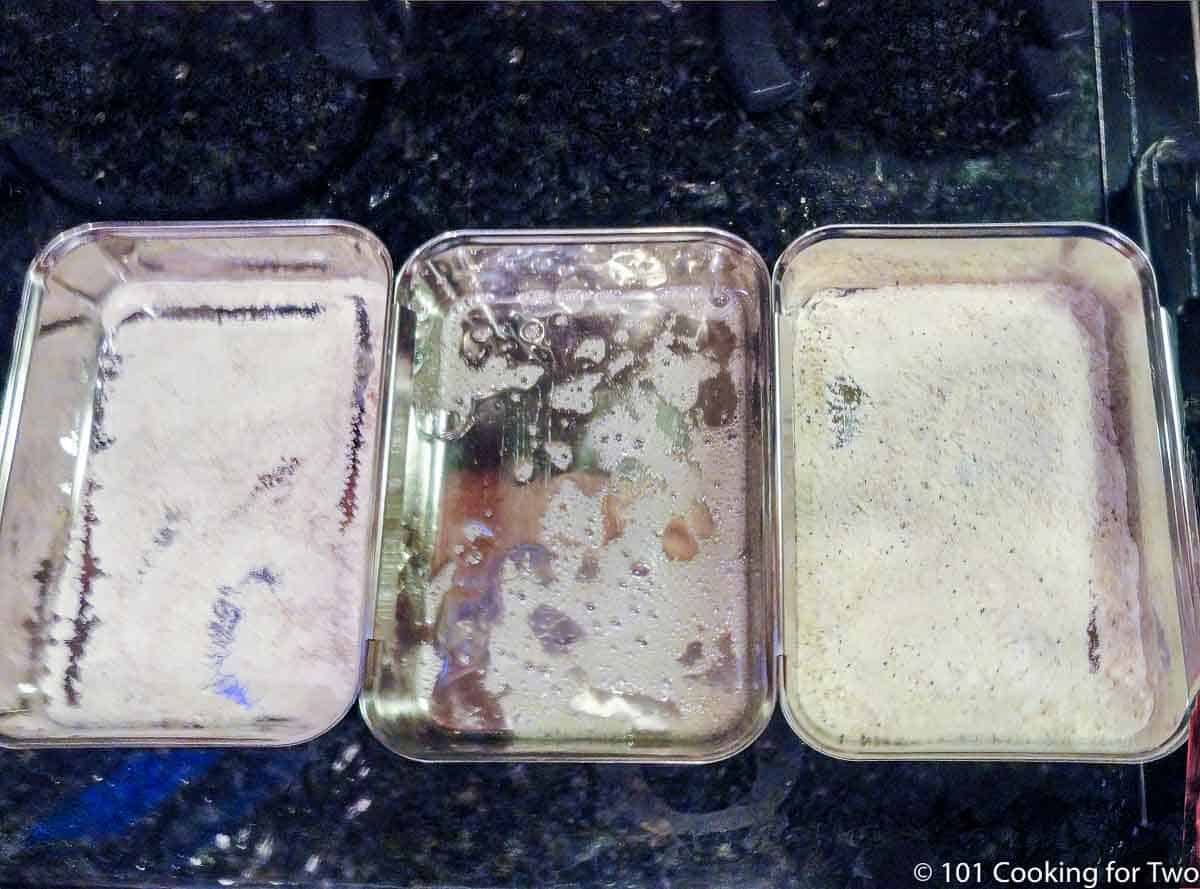
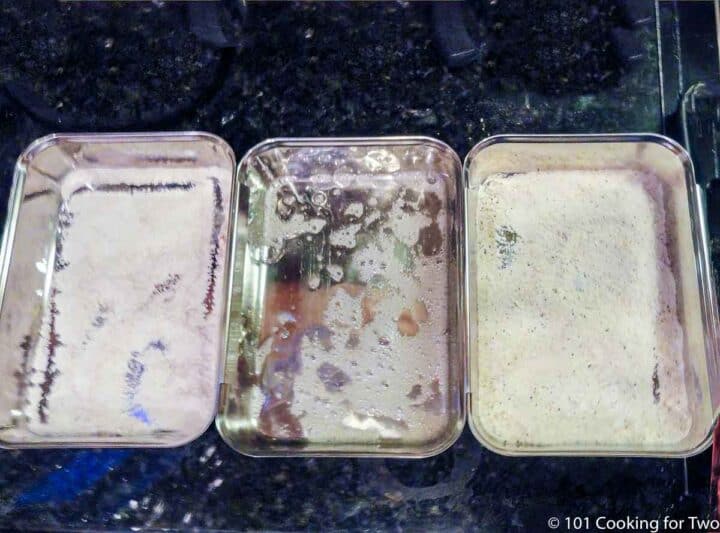
Create a dredge line with three shallow dishes:
Tray #1: ¼ cup flour
Tray #2: one egg whisked with 1 tablespoon of water.
Tray #3: ¼ cup flour, ½ cup Panko breadcrumbs, 1 teaspoon paprika, ½ teaspoon garlic powder, ½ teaspoon each salt and pepper. Optionally add ¼ teaspoon cayenne pepper (adjust for taste) and ¼ cup of Parmesan cheese.
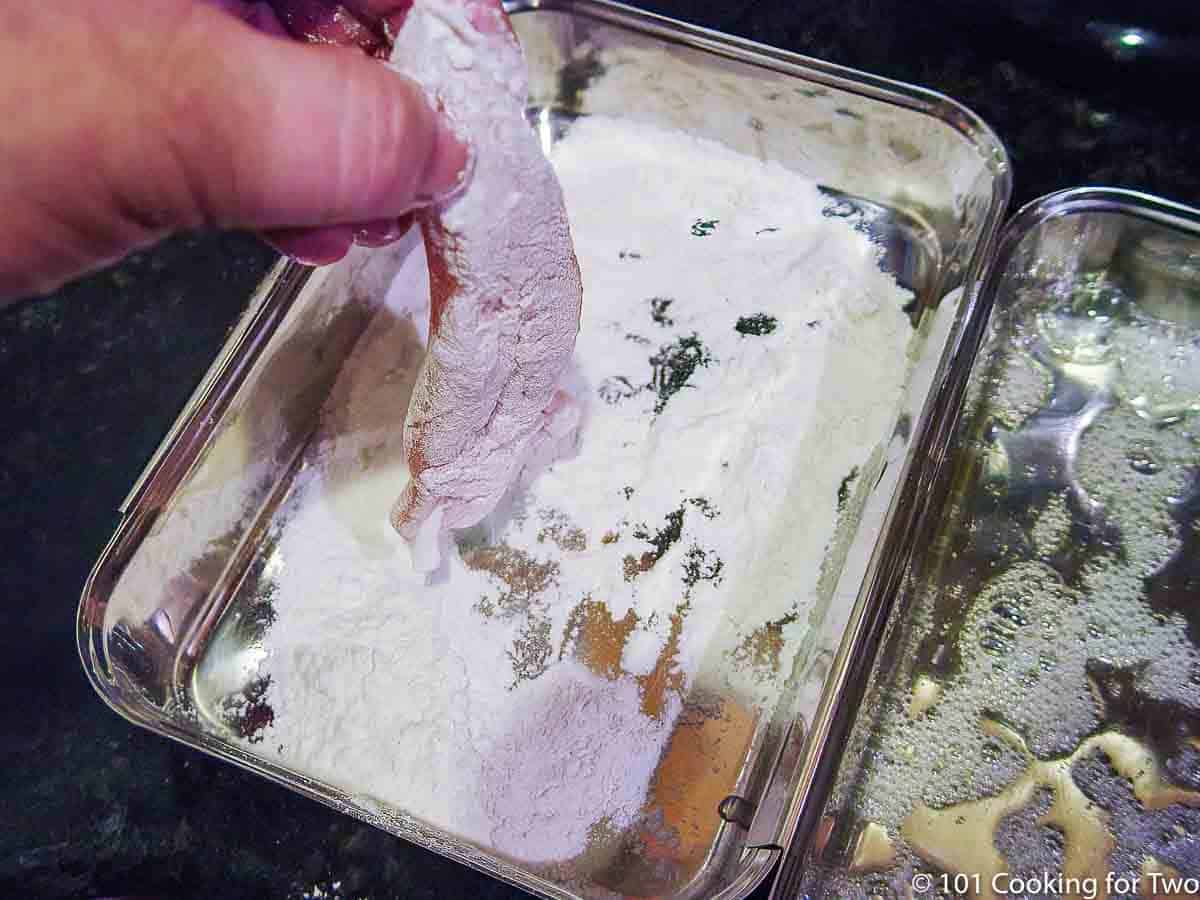
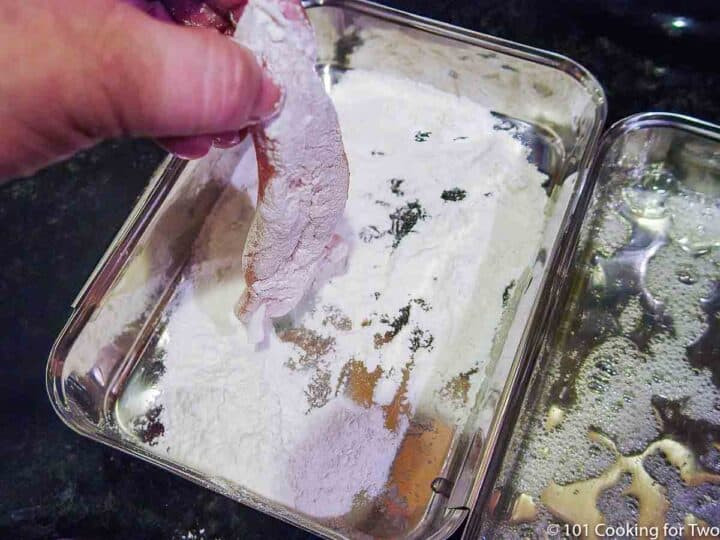
Roll the chicken in tray one and shake dry.
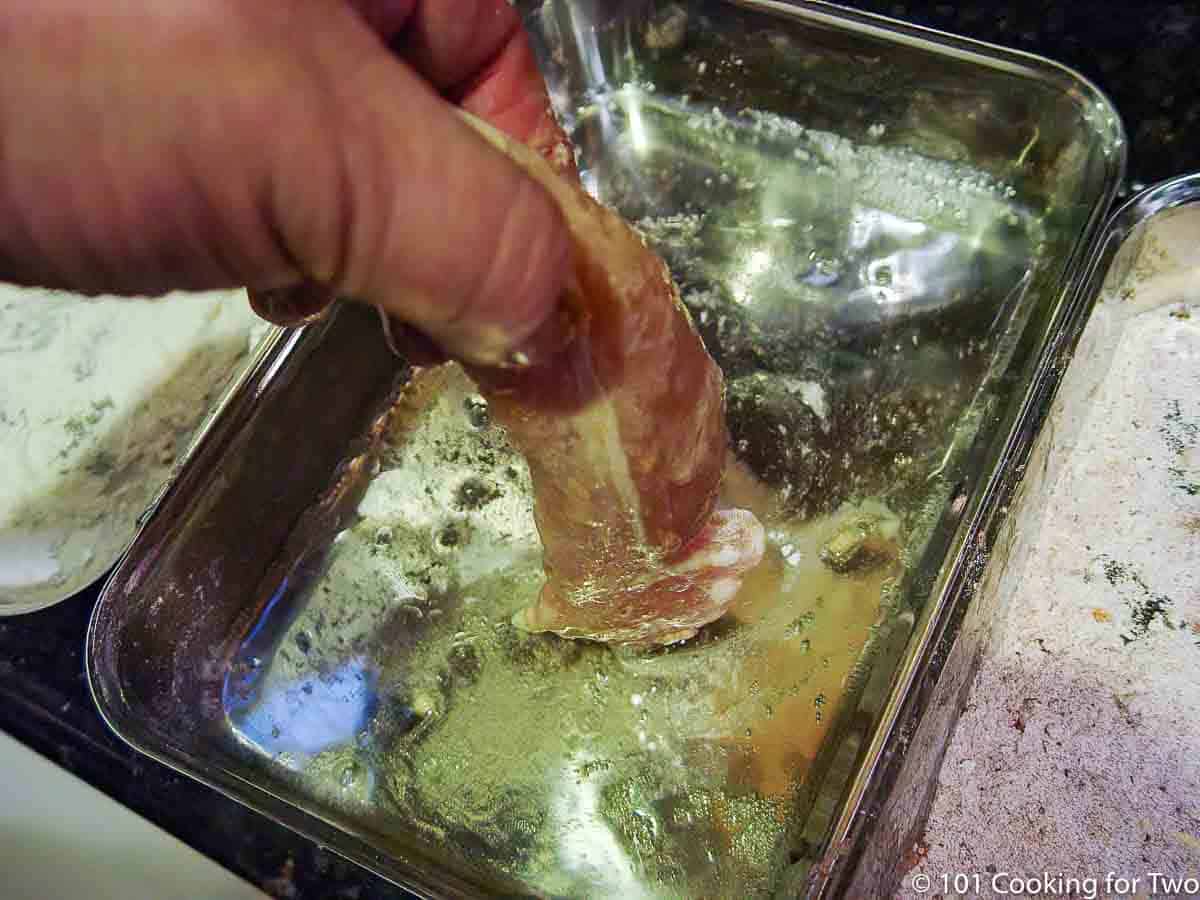
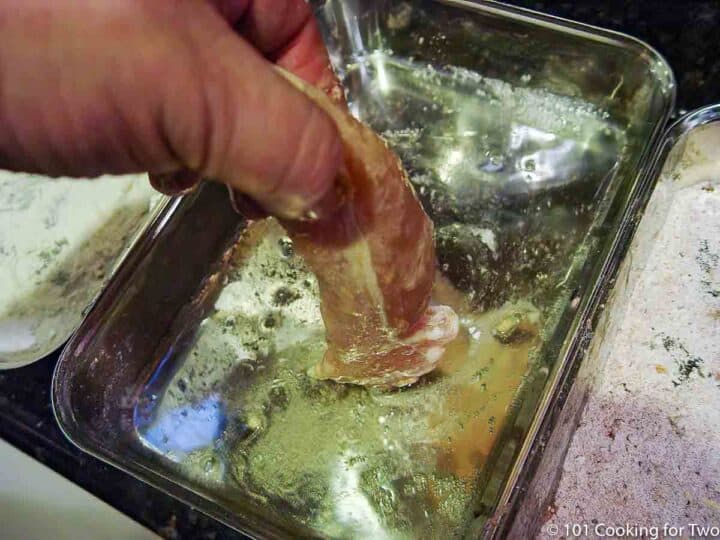
Dip in the egg wash and shake off excess.
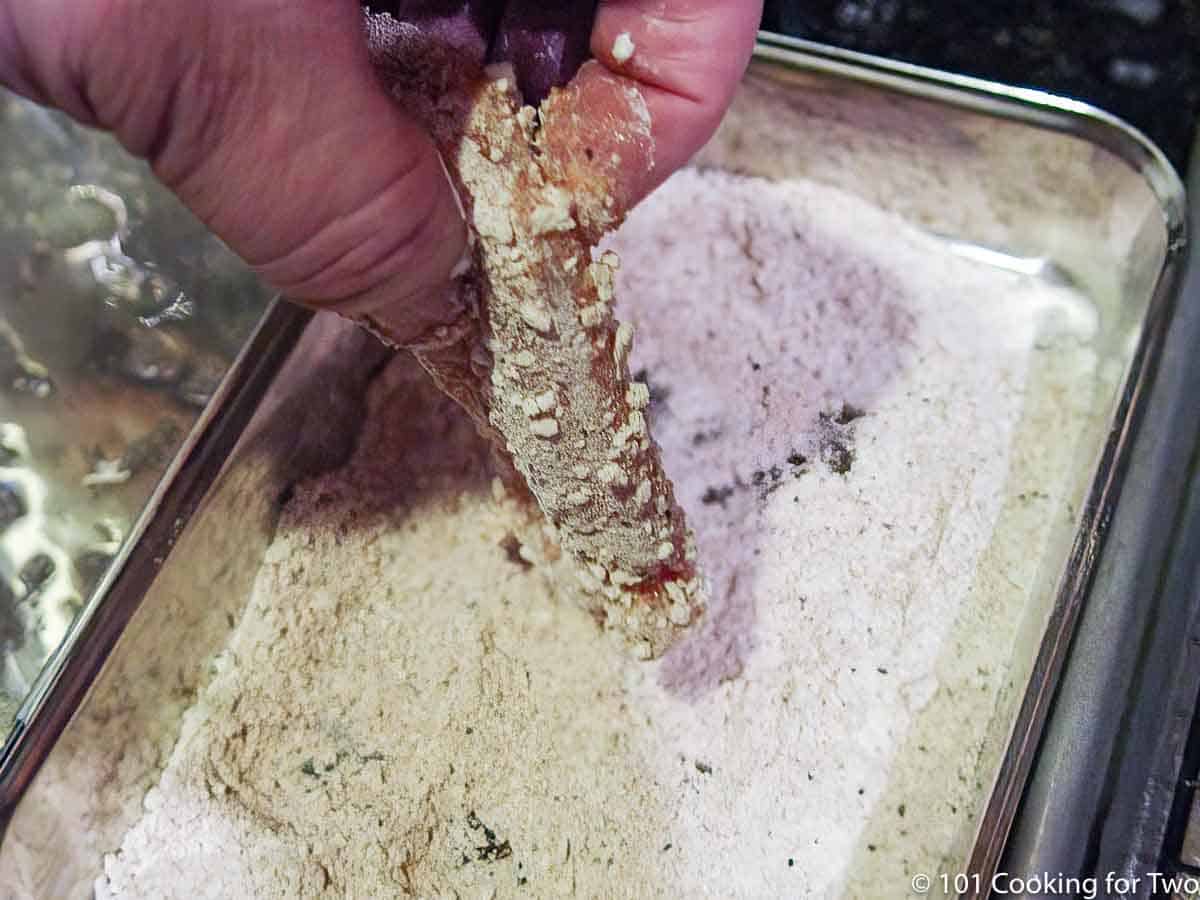
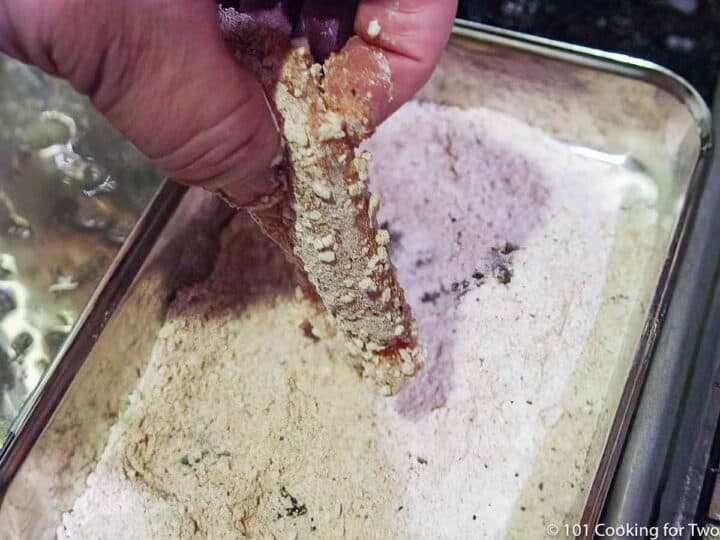
Roll in the final tray.
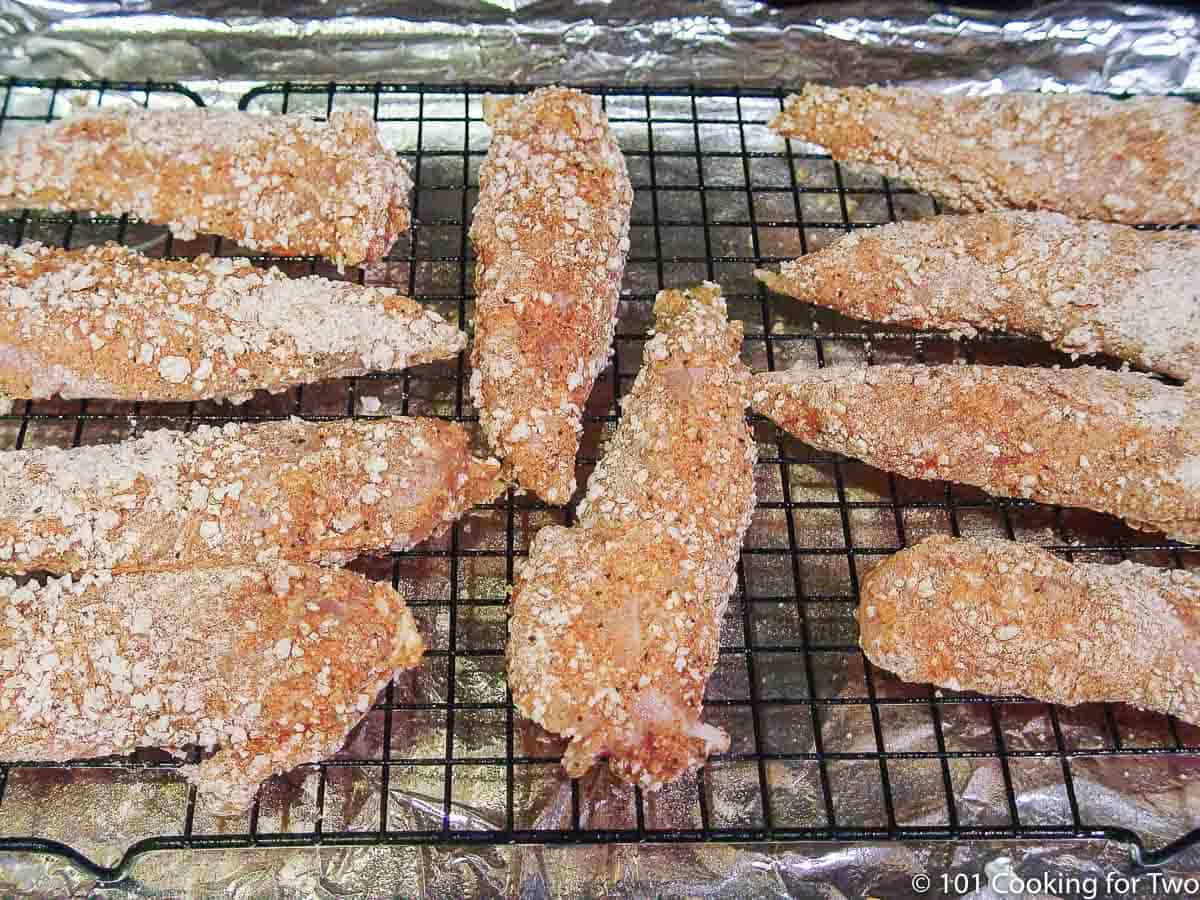
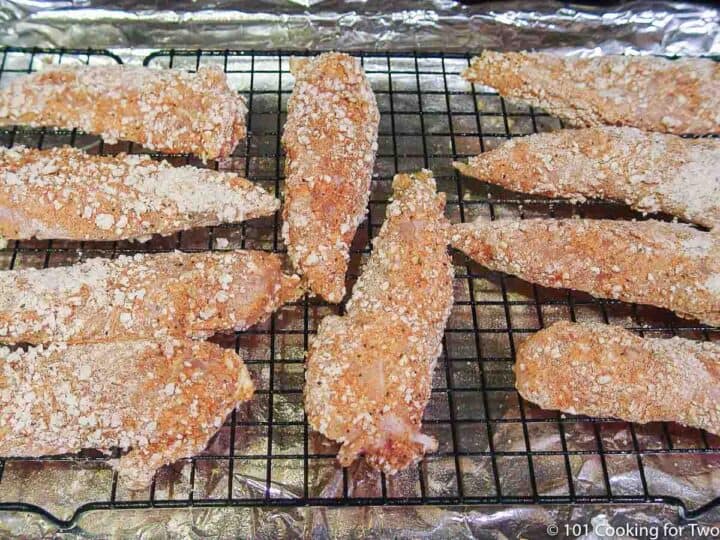
Place on the prepared tray. Give the coated tenders a light spray of PAM. If you have time, let them sit for 5 minutes before baking. The coating will stick better.
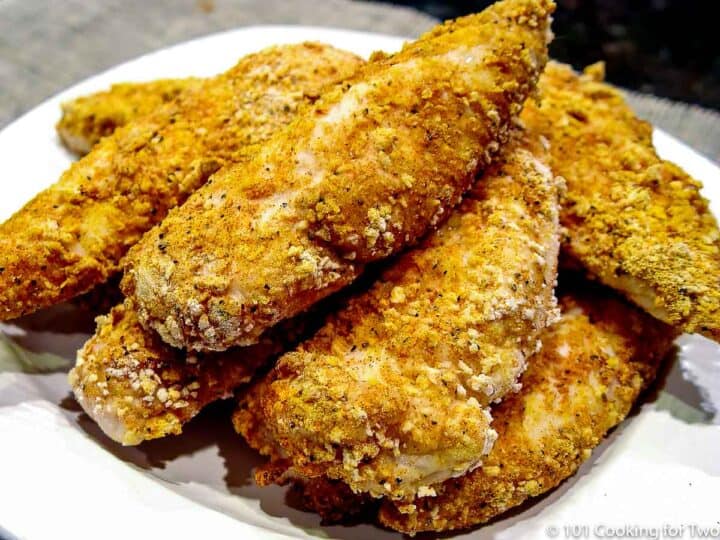
Cook until golden brown and an internal temperature of 165° in the thickest part—15 to 18 minutes usually.
📖 Recipe
Save this recipe to your inbox for later!
You may recieve the email without subscribing if you wish, but the subscription is convienent and easy unsubscribe.
Easy Baked Chicken Tenders
Ingredients
- 1½ to 2 pounds Chicken tenders - Or skinless breasts cut into strips
- 1 egg - Or 2 egg whites
- ½ cup AP flour - divided
- ¼ cup Panko bread crumbs
- ½ teaspoon paprika
- ½ teaspoon garlic powder
- ½ teaspoon salt
- ½ teaspoon pepper
- ¼ teaspoon cayenne - Optional
- ¼ cup Parmesan cheese-grated or shredded - Optional
- PAM
Instructions
- Preheat oven to 400° convection or 425° conventional.
- Prep a baking tray by lining with aluminum foil, fit with a rack and spray with PAM.
- Trim 1 ½ to 2 pounds of chicken tenders. Or trim and slice 2 skinless boneless chicken breasts into ½ inch thick strips.
- Pat dry the chicken tenders. DO NOT SKIP THIS STEP.
- Create a dredge line with three shallow dishes:Tray #1: ¼ cup flourTray #2: one egg whisked with 1 tablespoon of water.Tray #3: ¼ cup flour, ½ cup Panko breadcrumbs, 1 teaspoon paprika, ½ teaspoon garlic powder, ½ teaspoon each salt and pepper. Optionally add ¼ teaspoon cayenne pepper (adjust for taste). Also, ¼ cup grated or Parmesan cheese is optional.
- Roll the chicken in tray one with the flour and shake dry.
- Dip in the egg wash and shake off excess.
- Roll in the final tray of topping but do not shake off excess.
- Place on the prepared tray. Give the coated tenders a light spray of PAM. If you have time, let them sit for 5 minutes before baking. The coating will stick better.
- Cook until golden brown and an internal temperature of 165° in the thickest part—15 to 18 minutes usually.
Recipe Notes
Pro Tips
- I like to use a rack for cooking these, and you will not need to flip them. Without the rack, you will need to flip halfway through with a fork.
- I like to use chicken tenders, but you can use cut strips of chicken breasts.
- Be sure to pat dry the chicken before starting.
- There are usually 4-5 chicken tenders per pound.
- If you rest the chicken after coating but before baking for 5-10 minutes, the coating will stick better.
- This will usually take about 15-18 minutes but will vary some by the thickness of the chicken and your oven. The endpoint of cooking is 165° in the thickest part of the chicken.
- It is best to put the biggest tenders on the outside of the rack and point the thickest part of the tenders to the outside of the rack.
- To speed up the prep, you can use a seasoning salt (2 teaspoons) for the main spices. Just add the pepper.
- Cayenne pepper is optional. One-fourth teaspoon will get you a 5/10 heat, and a half teaspoon will be 8/10. Please don't add it if this is for kids.
- The coating can be a little dry. I gave the tenders a light spray with PAM just before baking.
- Store leftovers sealed airtight and refrigerated for 3-4 days and they can freeze for 2-3 months. But breading is always better fresh.
Your Own Private Notes
To adjust the recipe size:
You may adjust the number of servings in this recipe card under servings. This does the math for the ingredients for you. BUT it does NOT adjust the text of the instructions. So you need to do that yourself.
Nutrition Estimate
© 101 Cooking for Two, LLC. All content and photographs are copyright protected by us or our vendors. While we appreciate your sharing our recipes, please realize copying, pasting, or duplicating full recipes to any social media, website, or electronic/printed media is strictly prohibited and a violation of our copyrights.
Originally published February 4, 2012. Updated with expanded options, refreshed photos, and a table of contents to help navigation.


Mary-Lou says
Dan,
Thank your for providing this recipe. It looks very delicious!
Question: Am I correct in that, for this recipe above (10 tenders), both Tray #1 and Tray #3 each require 1/4 cup of flour, thus, the requirement of 1/2 cup of flour in the listed ingredients. If so, then what is the purpose of using the flour again in Tray #3?
Thank you.
~Mary-Lou
Dan Mikesell AKA DrDan says
Hi Mary Lou,
The first flour aborbs any moisture left on the chicken and combines with the egg. By using the first coat, the coating sticks better. Important in a small thing like a tender. The flour and other things in the third tray makes the coating while #1 + #2 makes a glue.
Some recipes will skip the first coat but I thought it was important here. That combined with the 5-10 minutes of rest after coating before baking helps the coating stick.
Dan
Jae King says
Tried this recipe today!! Excellent for hungry growing kids!!! We loved it!
DrDan says
Hi Jae,
Welcome to the blog.
Gale it works well for you. I do love the touch of spice in this recipe.
Thanks for the note.
Dan
plasterers bristol says
Looks and sounds delicious. Love spicy chicken. Thanks for sharing.
simon
Jordan Ball says
I made this tanight for Valentine's day an my girlfriend an i loved it thanks for makin me look good an like i knew what i was doing im really no cook but it was really easy an tasted great!
Jordan Ball says
This comment has been removed by the author.
Unknown says
Great recipe! I made it this week and the adults and kids all loved it (the only thing I did was reduce the cayenne to about 1/8 tsp to make it kid friendly. Thanks for the post!
Linda www.mykindofcooking.com says
I found your blog thanks to Pam. I love recipe with a little spice to it and this one sounds perfect for my family. I signed up to follow your blog and can't wait to see your other recipes!
Pam says
They look great and I'll be trying this! I have an award for you over on my blog today!
Inspired by eRecipeCards says
Baked instead of fried... terrific recipe (especially when pondering super bowl snacks. now to work on the dips for these ;)
Thanks for sharing the recipe!
Dave
Chris says
I bet this would be also good with chipotle pepper for a smoky version. Or cut into nuggets. Trevor loves chicken nuggets but refuses to eat them anymore after seeing how they were made commercially.